
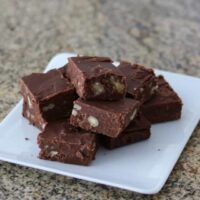
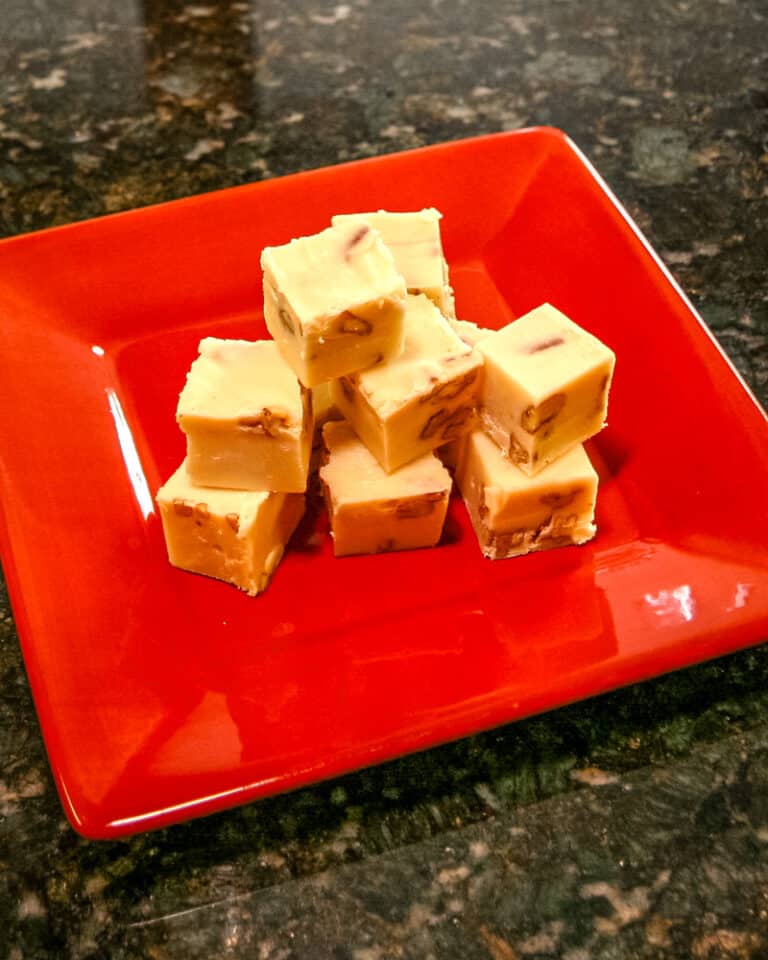
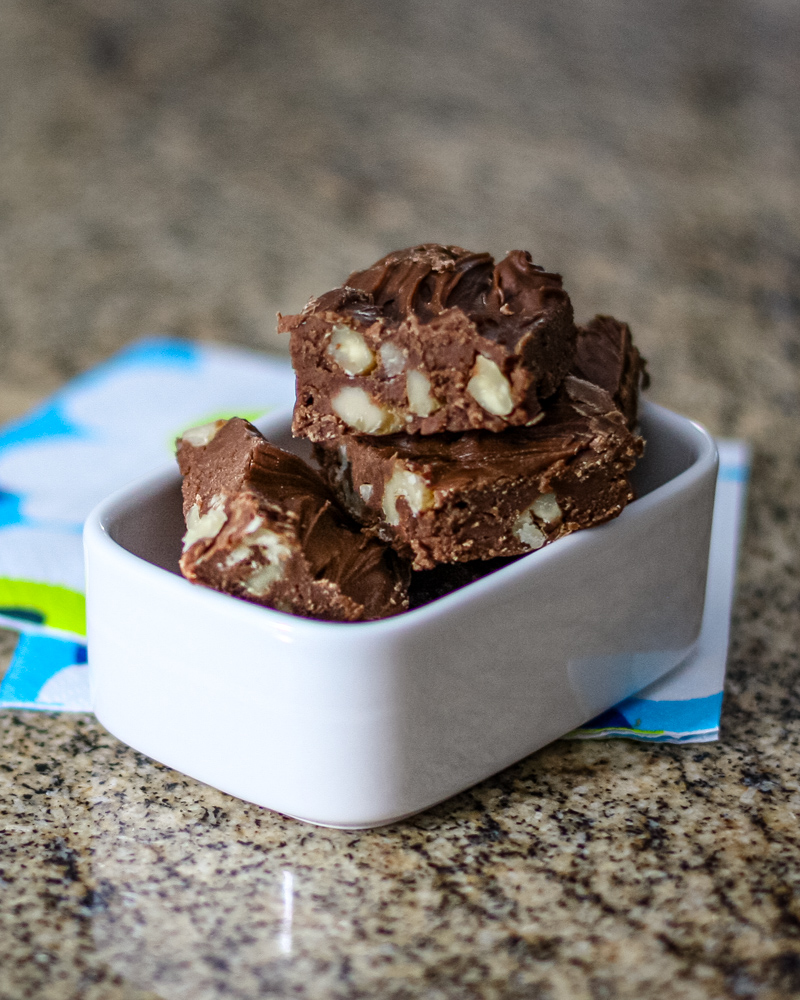
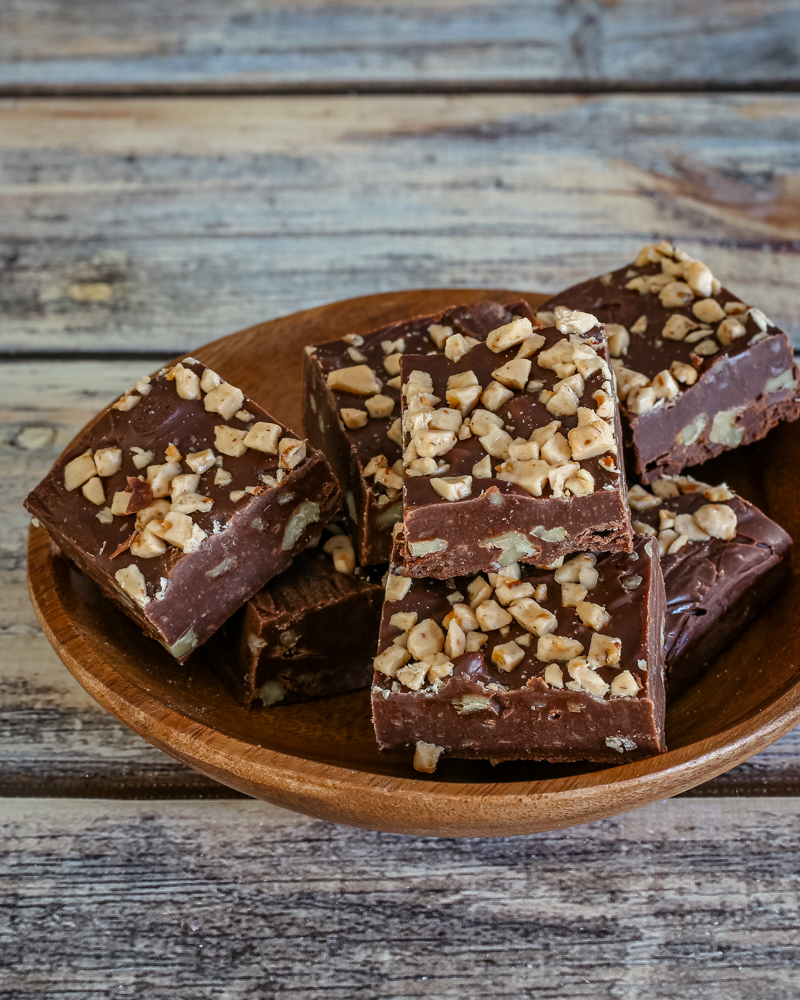
Microwave Fudge
Make delicious microwave fudge in just minutes! This easy recipe requires pantry ingredients and minimal effort. Perfect for satisfying your chocolate cravings.

This post may contain affiliate links. See our Privacy Policy.
This microwave fudge is the perfect treat when you have a chocolate craving. It comes together with simple pantry staples and just a few minutes of cook time, delivering rich, chocolatey goodness with almost no effort. No candy thermometer, no long stirring sessions—just quick, easy fudge with a smooth texture and that classic deep cocoa flavor.
This recipe is perfect for last-minute desserts, edible gifts, or sudden sweet cravings. You can add nuts, swap extracts, or keep it classic and plain. However you make it, this is one fudge recipe you’ll want to keep on hand year-round.
What You’ll Like About This Recipe
- Quick and nearly foolproof. Everything comes together in one microwave-safe bowl—no stovetop monitoring or candy-making skills required. As long as you melt the butter and stir well, you’ll get a thick, glossy mixture that sets up into sliceable fudge.
- Pantry-only ingredients. Confectioners’ sugar, cocoa, butter, milk, vanilla, and nuts are all easy to keep on hand. That means you can whip up a batch whenever a chocolate craving hits, or when you need a last-minute treat to share.
- Rich flavor and smooth texture. The combination of cocoa and butter creates a deep chocolate taste, while the confectioners’ sugar gives the fudge a silky, creamy bite that melts on the tongue instead of feeling grainy.
- Endlessly adaptable. You can change the personality of this fudge just by swapping the nuts, adding extracts, or stirring in mix-ins like crushed cookies or candy. The base stays the same, but the flavors can shift with your mood or the season.
Ingredient Notes
- Confectioners’ sugar – This finely powdered sugar sweetens the fudge and helps create its dense, smooth texture. Because it includes a bit of starch, it also helps the fudge set firmly. Sifting it before mixing can prevent lumps and give you a more uniform result.
- Unsweetened cocoa – Cocoa powder provides the chocolate flavor, so use one you enjoy. Natural cocoa works beautifully; a Dutch-processed cocoa will give a darker color and a slightly more intense, “bakery-style” chocolate note.
- Milk – A small amount of milk loosens the sugar and cocoa mixture just enough for the butter to melt and everything to blend smoothly. Whole or 2% milk gives richer results, but any milk you normally keep on hand will work.
- Butter – Butter adds body, richness, and a smooth mouthfeel to the fudge. It also helps it firm up while staying creamy instead of crumbly. Use real butter rather than margarine for the best flavor and texture.
- Vanilla extract – Stirred in after heating, vanilla rounds out the chocolate flavor and softens any sharp edges from the cocoa. Even a tablespoon makes a noticeable difference in how balanced and “finished” the fudge tastes.
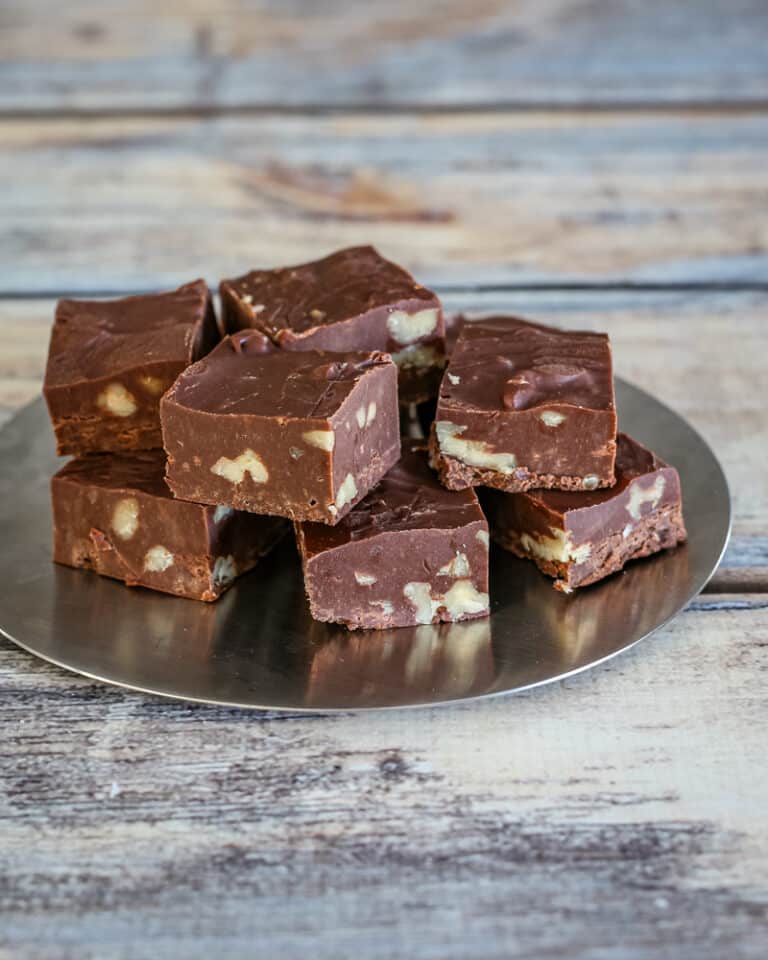
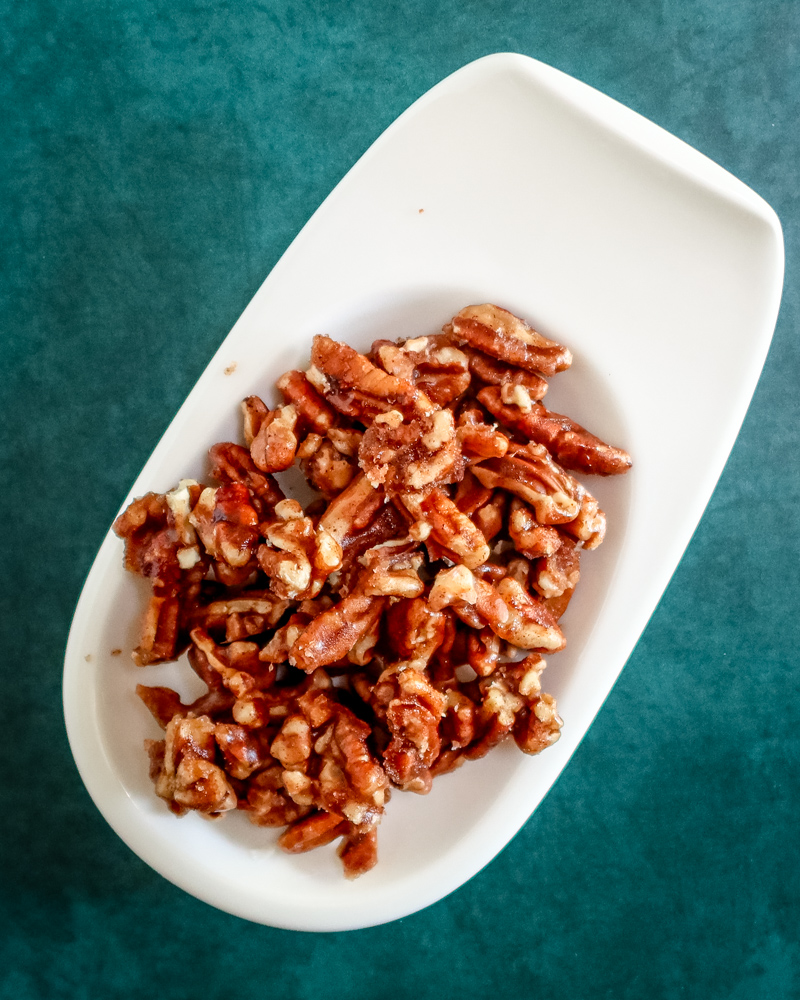
- Pecans or walnuts – Chopped nuts bring crunch and a toasty, slightly bitter contrast to the sweetness of the fudge. Pecans give a softer, buttery crunch, while walnuts add a more pronounced, earthy flavor. You can lightly toast the nuts first for extra depth if you’d like.
Steps to Make Microwave Fudge
- Prepare your pan by lining or lightly greasing it so you can lift out the fudge easily once it has cooled and set.
- Combine the confectioners’ sugar, cocoa, milk, butter, and salt in a large microwave-safe bowl, stirring to form a thick, somewhat uneven mixture.
- Microwave just until the butter has fully melted and the mixture is hot, then stir steadily until it becomes smooth and glossy with no visible dry pockets.
- Stir in the vanilla and then fold in the chopped nuts, making sure they are evenly distributed throughout the fudge.
- Scrape the mixture into the prepared pan and spread it into an even layer, smoothing the top with a spatula.
- Let the fudge cool and firm completely at room temperature or in the refrigerator before cutting it into squares.
Pro Tips
- Sift the confectioners’ sugar and cocoa together before adding the liquid ingredients if you want an ultra-smooth fudge with no tiny lumps.
- Use a large, deep bowl so the mixture has room to bubble up slightly in the microwave without spilling over the sides.
- Stir thoroughly after heating; even if the butter is melted, it can take a minute of steady stirring for everything to emulsify and come together into a velvety mixture.
- Check the mixture’s texture before spreading—if it seems too thick to smooth easily, a tiny splash of milk worked in quickly can loosen it, but avoid over-thinning or it may set softer.
- Cut the fudge with a sharp knife once it’s fully firm, wiping the blade between cuts for cleaner, neater squares.
Recipe Variations
- Mocha microwave fudge. Add a small spoonful of instant espresso or coffee granules when you mix in the cocoa so the coffee dissolves along with the chocolate. The fudge will taste more complex and slightly less sweet without tasting like coffee candy.
- Nut-free and extra smooth. Simply leave out the nuts and keep the fudge plain, or replace them with mini chocolate chips or tiny marshmallows stirred in once the mixture has cooled slightly so they don’t fully melt.
- Peppermint twist. Swap part of the vanilla for peppermint extract, and press a few crushed peppermint candies or candy canes into the top before it sets. This is especially nice for holiday platters.
- Rocky road style. Stir in chopped nuts plus mini marshmallows, adding the marshmallows after the mixture has cooled a bit so they hold their shape. The result is chewy, crunchy, and extra fun.
- Salted chocolate fudge. Keep the base the same but sprinkle a pinch of flaky sea salt over the top of the fudge as it starts to set. The salt balances the sweetness and adds a little crunch to each bite.
How to Store
- Refrigerate – Once the fudge has set, cover the pan tightly or transfer cut pieces to an airtight container, separating layers with parchment or wax paper. Keep it in the refrigerator for up to about 2 weeks. Let pieces sit at room temperature for a few minutes before serving so the texture softens slightly.
- Freeze – For longer storage, freeze the fudge squares in a single layer until firm, then pack them into airtight containers or freezer bags with parchment between layers. They will keep for about 2 to 3 months. Thaw in the refrigerator or at cool room temperature until the texture is pleasantly soft again.
- Refresh – If the fudge has been chilled for a while and feels a bit too firm, let it stand at room temperature for 15 to 20 minutes before serving. This brings back that smooth, melt-in-your-mouth texture.
Microwave Fudge
Ingredients
- Butter, for the pan
- 1 pound confectioners' sugar, 3 2/3 cups
- ½ cup unsweetened cocoa
- ¼ cup milk
- ½ cup butter
- Dash salt
- 1 tablespoon vanilla
- ½ cup chopped pecans, or walnuts
Instructions
- Prepare the pan. Butter an 8-inch square pan.
- Microwave ingredients. Combine the confectioners' sugar, cocoa, milk, butter, and salt in a microwave-safe bowl; stir to blend and microwave on high power for 2 to 3 minutes or until the butter has melted. Stir until smooth.
- Finish the mixture. Add the vanilla and nuts and stir to combine.
- Transfer to the pan. Spread the mixture into the pan and cool completely.
- Slice and enjoy. Cut into squares and enjoy!
Nutrition
Disclaimer:
Our nutritional information is based on a third-party application that analyzes the ingredients list to determine the values. The information is meant to be helpful, but should be considered an estimate. Values may differ depending on measurements, brands, serving variations, and database availability.
Our nutritional information is based on a third-party application that analyzes the ingredients list to determine the values. The information is meant to be helpful, but should be considered an estimate. Values may differ depending on measurements, brands, serving variations, and database availability.

What does “1 pound 3 2/3 cups” confectioners’ sugar mean? No need to post this, I would just like a clarification to my confusion.
Sorry, that is 1 pound, which is 3 2/3 cups. Either/or. New recipe format, so I’m going through to catch these things. Sorry about that! Thanks!