
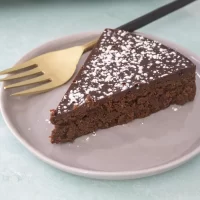
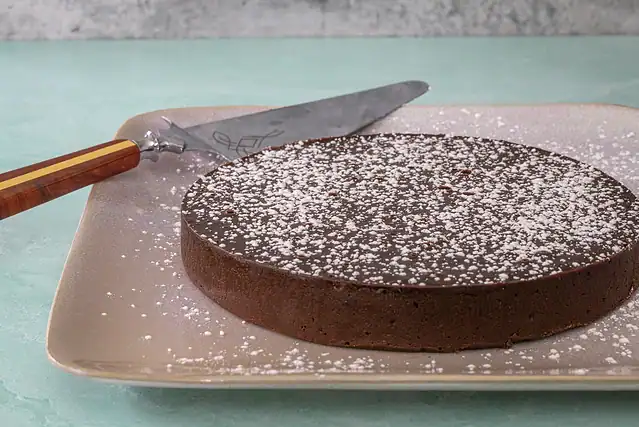
Instant Pot Chocolate Truffle Torte
This rich Instant Pot chocolate torte is sure to be a hit with friends and family, and a little goes a long way. And it’s gluten free!

This post may contain affiliate links. See our Privacy Policy.
Treat your friends and family to this easy Instant Pot chocolate torte. If you love dense, fudgy desserts, this Instant Pot chocolate torte is sure to impress. Made with just a handful of ingredients, this flourless cake is rich and decadent, perfect for gluten-free guests. It’s like a giant chocolate truffle!
The Instant Pot makes this torte effortless—no need to turn on the oven, and the texture is incredibly smooth and creamy. Whether you’re serving it for a dinner party or as a weeknight indulgence, a small slice goes a long way. Chill it well before slicing, and serve it with whipped cream, ice cream, or fresh berries to balance the richness.
What You’ll Like About This Dish
Deep chocolate flavor. Melted chocolate and butter come together for a truffle-like texture.
No oven needed. The Instant Pot delivers a beautifully smooth, moist torte.
Gluten-free. Perfect for guests with dietary restrictions.
Elegant and simple. A show-stopping dessert made from just a handful of ingredients.
Ingredient Notes
- Semi-sweet chocolate chips – Choose good-quality chips (or chopped chocolate) for the best flavor.
- Butter – Adds richness and creates the classic flourless-cake texture.
- Eggs – Use room temperature eggs for easier blending and a smoother batter.
- Vanilla – Enhances the chocolate flavor and adds warmth.
- Sugar and salt – Balance the richness and deepen the flavor.
Steps to Make Instant Pot Chocolate Torte
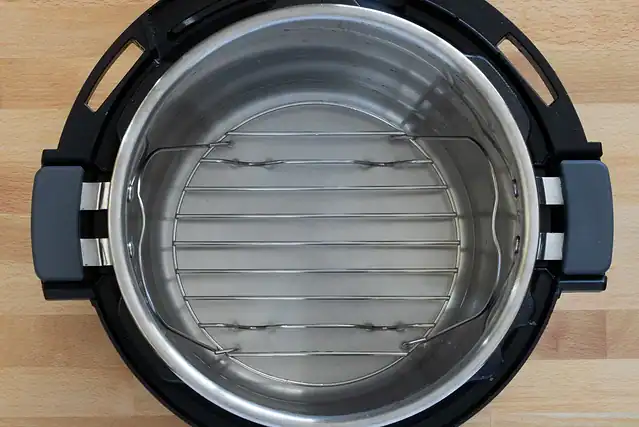
- Prepare the Instant Pot with a trivet and water and line the baking pan with parchment.
- Melt the chocolate over simmering water, then add the butter and stir until smooth.
- Stir in the sugar and salt, then whisk in the eggs one at a time.
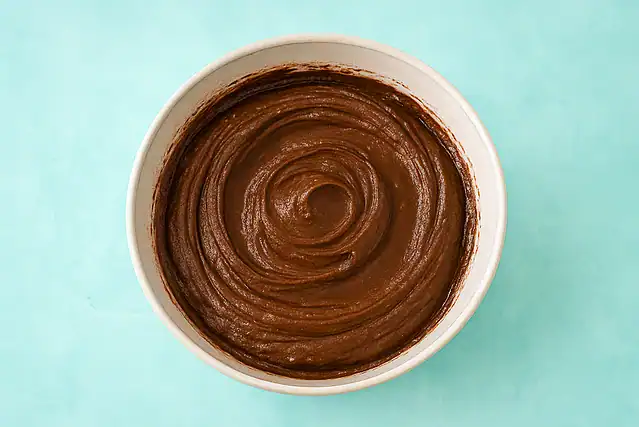
- Add the vanilla and mix until the batter is glossy and fully blended.
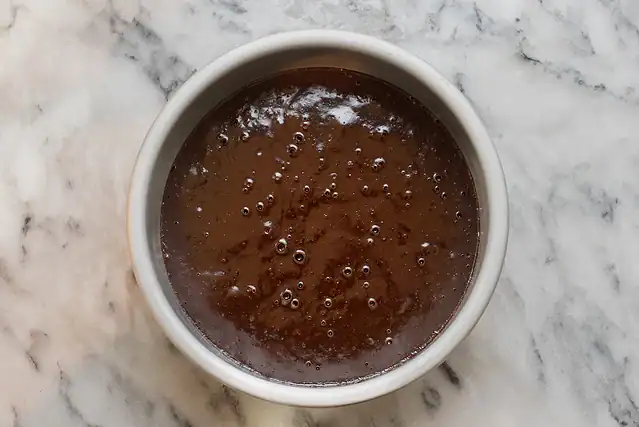
- Transfer the batter to the prepared pan and cover it tightly with foil.
- Lower the pan into the Instant Pot using a foil sling.
- Pressure cook until the torte is set, then allow a natural release.
- Cool, chill thoroughly, and remove from the pan before serving.
Tips
- Line the pan carefully to ensure the torte releases cleanly after chilling.
- Cover the pan tightly with foil to prevent condensation drips from marring the surface.
- Whisk the eggs in one at a time to avoid scrambling and to keep the batter smooth.
- Chill the torte completely before slicing for clean, neat wedges.
- Run a warm knife under hot water before each slice for the prettiest presentation.
Recipe Variations
- Mocha version. Add 1 teaspoon of instant espresso powder to the melted chocolate mixture.
- Orange chocolate twist. Stir in a bit of orange zest or a splash of orange liqueur.
- Peppermint torte. Add a drop or two of peppermint extract for a holiday version.
- Raspberry finish. Serve with raspberry sauce or layer fresh berries on top.
Serving Suggestions
- Serve with whipped cream, ice cream, or berry compote.
- Pair with fresh raspberries, strawberries, or sliced peaches.
- Add a dusting of cocoa or powdered sugar before serving.
- Garnish with chocolate curls for an elegant presentation.
How to Store
Refrigerate: Keep the torte tightly covered and refrigerate for up to 5 days. It slices best when cold.
Freeze: Freeze whole or in slices for up to 3 months. Wrap well in plastic, then foil.
Reheat: This dessert is not typically reheated; serve chilled or at room temperature for best texture.
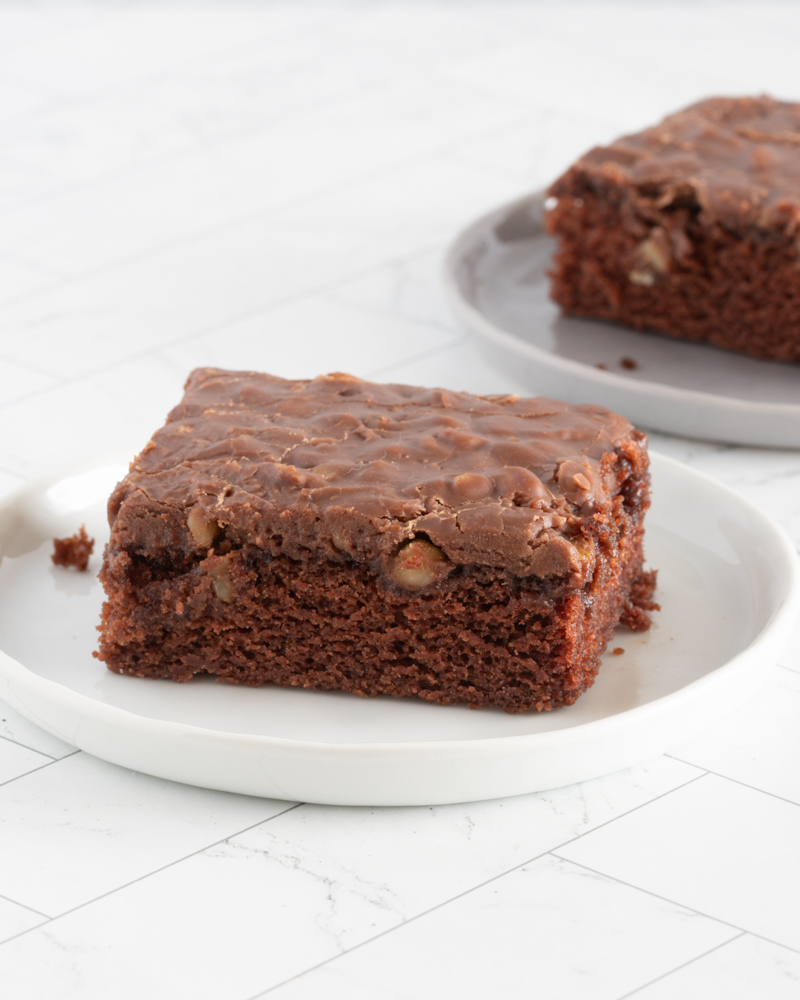
These Instant Pot pots de crème are another rich and delicious chocolate dessert, cooked in the Instant Pot. Alternatively, you might like this moist chocolate buttermilk cake.
Instant Pot Chocolate Torte
Ingredients
- 10 ounces semi-sweet chocolate chips
- 6 tablespoons butter
- 1 teaspoon vanilla
- ¼ cup granulated sugar
- ¼ teaspoon salt
- 4 large eggs, room temperature
Instructions
- Prepare the Pan: Place a trivet in the Instant Pot inner pot and add 1 cup of water to the pot. Spray a 7-inch pan with a removable bottom with cooking spray and line it with parchment paper. Spray the parchment paper with cooking spray.

- Make the Batter: Bring about 1 inch of water to a simmer in a saucepan. Put the semisweet chocolate chips in a heatproof bowl and place it over the simmering water. Stir constantly until the chocolate is melted. Add the butter and continue stirring until the butter is melted and the mixture is well blended. Remove the bowl from the saucepan. Add the sugar and salt and stir to blend. Whisk in the the eggs, one at a time. Add the vanilla and whisk until smooth and well blended. Pour the batter into the prepared pan.
- Pressure Cook: Cover the top and bottom of the pan tightly with foil. Use a foil sling to lower the pan into the Instant Pot. Lock the lid in place and turn the steam release knob to the sealing position. Choose pressure cook/manual, high pressure, and set the timer for 30 minutes. The Instant Pot will take about 5 to 7 minutes to build pressure and begin cooking. When the time is up, let the pressure release naturally for 15 minutes. Carefully turn the steam release knob to the venting position to release any remaining pressure.
- Cool the Cake: Remove the pan to a trivet and remove the foil. Let the cake cool, then cover it and refrigerate until it is thoroughly chilled.
- Remove the Cake: Slide a knife around the edge of the pan and remove the sides. Carefully slide a spatula under the cake to loosen it from the bottom; slide it onto a cake plate or platter.
- Finish and Serve: Dust the top with powdered sugar just before serving. Serve slices cold or at room temperature with a scoop of ice cream, a dollop of whipped cream, or whipped topping.

Nutrition
Disclaimer:
Our nutritional information is based on a third-party application that analyzes the ingredients list to determine the values. The information is meant to be helpful, but should be considered an estimate. Values may differ depending on measurements, brands, serving variations, and database availability.


I’ve made this so many times now! So much easier than baking in the oven in a water bath..Comes out perfect every time..I normally put fresh on top raspberries when serving. Thanks for a great recipe!
I’m so glad you liked it! Thanks!