This post may contain affiliate links. See our Privacy Policy.
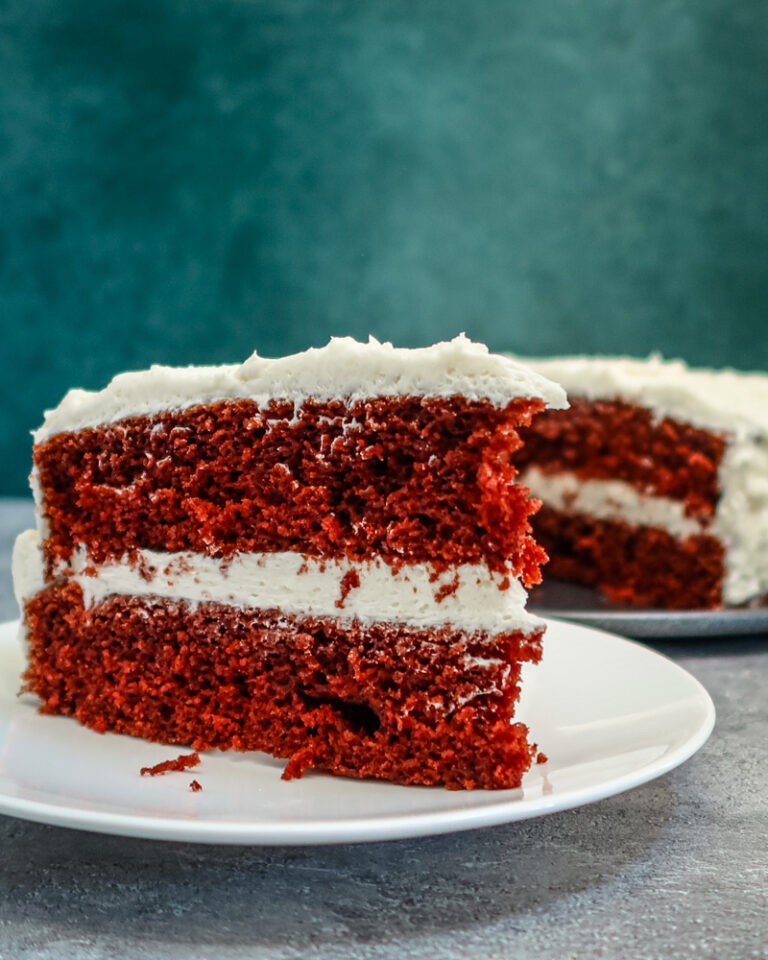
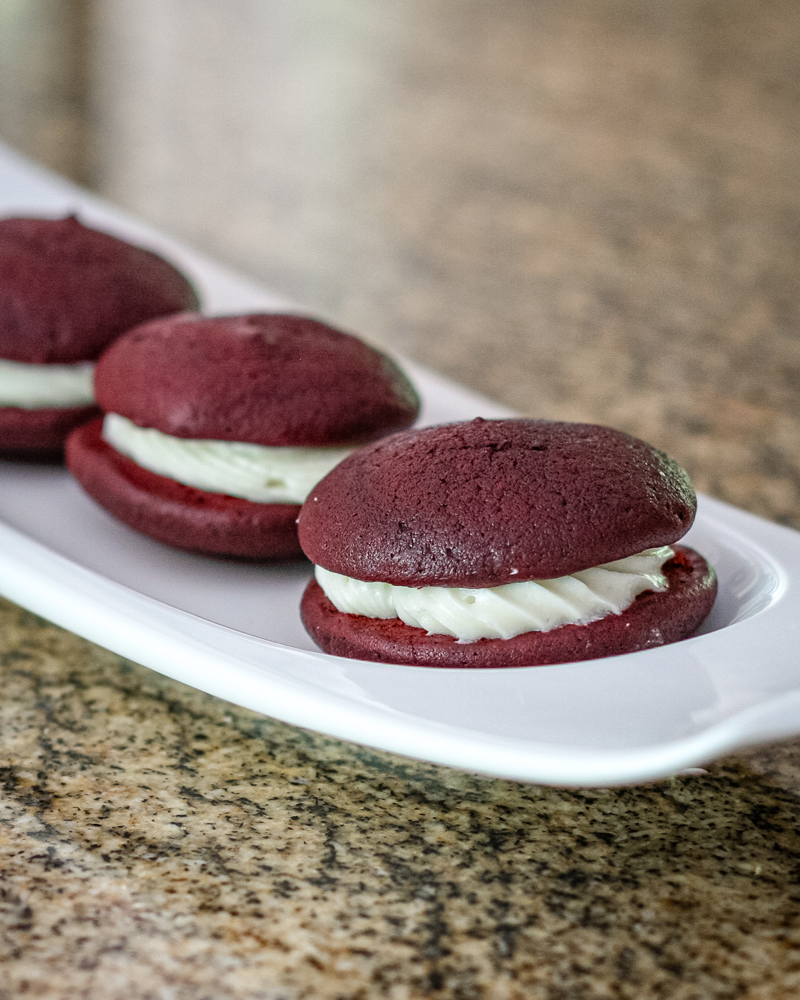
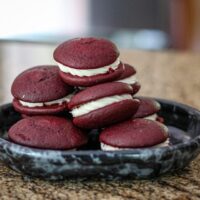
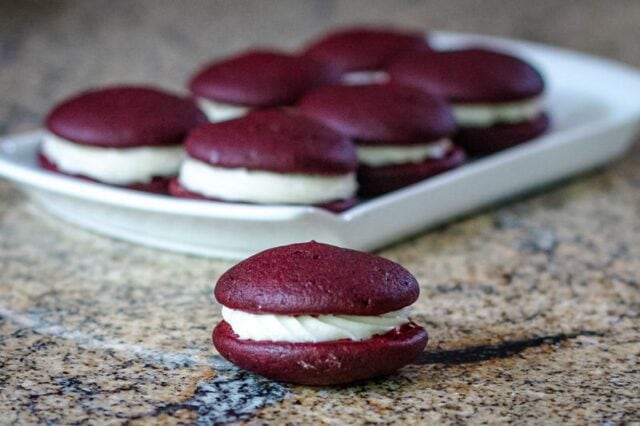
Red velvet whoopie pies are soft, cake-like sandwich cookies with the perfect balance of cocoa, tangy buttermilk, and creamy filling. They’re festive, fun, and irresistibly tender—everything you love about red velvet but in handheld form. The cream cheese filling adds that classic tangy sweetness that makes each bite feel indulgent without being too heavy.
They’re also easier to make than they look. The batter mixes quickly, pipes neatly, and bakes into perfectly domed little cakes. Once cooled, they’re filled with fluffy cream cheese frosting and ready to enjoy for holidays, parties, bake sales, or just an everyday baking treat.
Did Whoopie Pies Originate in Maine?
Growing up in Maine, whoopie pies were my favorite lunchbox dessert, with Devil Dogs a close second. The first whoopie pies were sold in 1925 by Labadie’s Bakery in Lewiston Maine, and these days there’s even a festival honoring the yummy cakes. In 2011, the whoopie pie was designated Maine’s official state treat by the Maine State Legislature.
While the traditional whoopie pie is made with a chocolate cake and Marshmallow Fluff filling, this version is made with the addition of red food coloring and a cream cheese filling.
What You’ll Like About This Dish
Soft, cake-like texture. These whoopie pies bake up tender and moist, just like classic red velvet cake.
Perfect cream cheese filling. Smooth, tangy, and sweet—ideal for sandwiching between the cakes.
Festive and fun. The bright red color and creamy center make them perfect for holidays or gifts.
Easy to assemble. Pipe, bake, cool, fill, and enjoy—simple steps with impressive results.
Ingredient Notes
- Flour – Provides structure while keeping the cakes soft.
- Cocoa powder – Just enough for classic red velvet flavor.
- Brown sugar – Adds moisture and deeper sweetness.
- Butter & egg – Help the cakes become tender and fluffy.
- Buttermilk – Essential for the signature red velvet tang and soft texture.
- Red food coloring – Liquid or gel creates the vibrant red color.
- Cream cheese & butter – Form the base of the smooth, fluffy filling.
Steps to Make Red Velvet Whoopie Pies
- Preheat the oven and line baking sheets with parchment.
- Whisk the dry ingredients together and set aside.
- Cream the butter and brown sugar until light.
- Beat in the egg and vanilla.
- Add the dry ingredients alternately with the buttermilk and coloring.
- Pipe or scoop the batter into small rounds.
- Bake until soft but set and lightly springy.
- Cool completely on racks.
- Make the filling and spread or pipe it onto half the cakes.
- Top with another cake to form the whoopie pies.
Tips
- Keep the rounds small. They spread while baking, so start with modest scoops.
- Use a piping bag. It helps create evenly sized, perfectly round cakes.
- Don’t overbake. The cakes should stay soft; remove them as soon as they spring back.
- Cool completely. Warm cakes will melt the filling and slide apart.
- Chill for neat edges. Refrigerating the assembled pies helps set the filling.
Recipe Variations
- Sprinkle edges. Roll the filled edges in mini sprinkles for a festive touch.
- Chocolate filling. Add cocoa to the filling for a chocolate-cream cheese twist.
- Heart shapes. Pipe the batter into hearts for Valentine’s Day.
- Extra tangy. Add a few drops of lemon juice to the filling for brightness.
- Mini whoopie pies. Make bite-sized versions by piping smaller rounds.
Serving Suggestions
- Serve as a fun holiday dessert or bake sale treat.
- Pair with coffee, tea, or hot cocoa.
- Add to dessert platters or cookie boxes.
- Garnish with a dusting of powdered sugar.
How to Store
Refrigerate whoopie pies in a parchment-lined container for up to 4 days. Separate layers with parchment to prevent sticking.
To freeze, place unfilled cakes in a freezer bag for up to 3 months. Freeze the filling separately, then assemble after thawing.
Assembled whoopie pies may also be frozen; thaw in the refrigerator before serving.
Red Velvet Whoopie Pies
Ingredients
- 1 cup all-purpose flour, (128 grams )
- ⅓ cup unsweetened cocoa powder, (27 grams )
- ¼ tsp baking powder
- ½ tsp baking soda
- ¼ tsp salt
- 4 tbsp unsalted butter, softened
- ½ cup brown sugar, packed (107 grams)
- 1 large egg
- 1 tsp vanilla extract
- ½ cup buttermilk, well shaken
- 1 tbsp red food coloring, liquid
Filling
- 4 ounces cream cheese, regular, softened
- 4 tbsp unsalted butter, softened
- 1 ¼ cups confectioners’ sugar
- 1 pinch salt
- ½ tsp vanilla extract
Recommended Equipment
Instructions
- Heat the oven to 350 F.
- Line two large baking sheets with parchment paper.
- Measure the flour, unsweetened cocoa, baking powder, baking soda, and 1/4 teaspoon of salt into a bowl. Whisk or stir to blend.1 cup all-purpose flour | 1/3 cup unsweetened cocoa powder | 1/4 tsp baking powder | 1/2 tsp baking soda | 1/4 tsp salt
- In a mixing bowl with an electric mixer, beat 4 tablespoons of butter with 1/2 cup of brown sugar until light. Add the egg and 1 teaspoon of vanilla; beat until well blended. Stir in the dry ingredients, alternating with the buttermilk and red food coloring. Beat until smooth and blended.4 tbsp unsalted butter | 1/2 cup brown sugar | 1 large egg | 1 tsp vanilla extract | 1/2 cup buttermilk | 1 tbsp red food coloring
- With a cookie scoop or pastry bag, drop or pipe the batter onto the prepared baking sheets in 1 1/2-inch round mounds.
- Bake the whoopie pies for 8 to 10 minutes, or until the cakes spring back when touched lightly with a finger.
- Cool completely before filling.
- Prepare the filling (directions below) and spread or pipe some on the bottom of a cookie. Top with another cookie to form a whoopie pie (flat side down). Repeat with the remaining cookies and filling.

- Store the whoopie pies in the refrigerator in wax paper or parchment-lined containers, putting sheets of parchment or wax paper between the cookies.
Filling
- Beat the 4 ounces of cream cheese with 4 tablespoons of butter and a pinch of salt until light. Beat in the confectioners’ sugar and 1/2 teaspoon of vanilla until smooth and fluffy.4 ounces cream cheese | 4 tbsp unsalted butter | 1 1/4 cups confectioners’ sugar | 1 pinch salt | 1/2 tsp vanilla extract
Nutrition
Disclaimer:
Our nutritional information is based on a third-party application that analyzes the ingredients list to determine the values. The information is meant to be helpful, but should be considered an estimate. Values may differ depending on measurements, brands, serving variations, and database availability.