Mexican Cornbread
Spice up your cornbread with this Mexican version. With ingredients like chile peppers, cheese, and onions, it’s the perfect side dish for any meal.
This post may contain affiliate links. See our Privacy Policy.
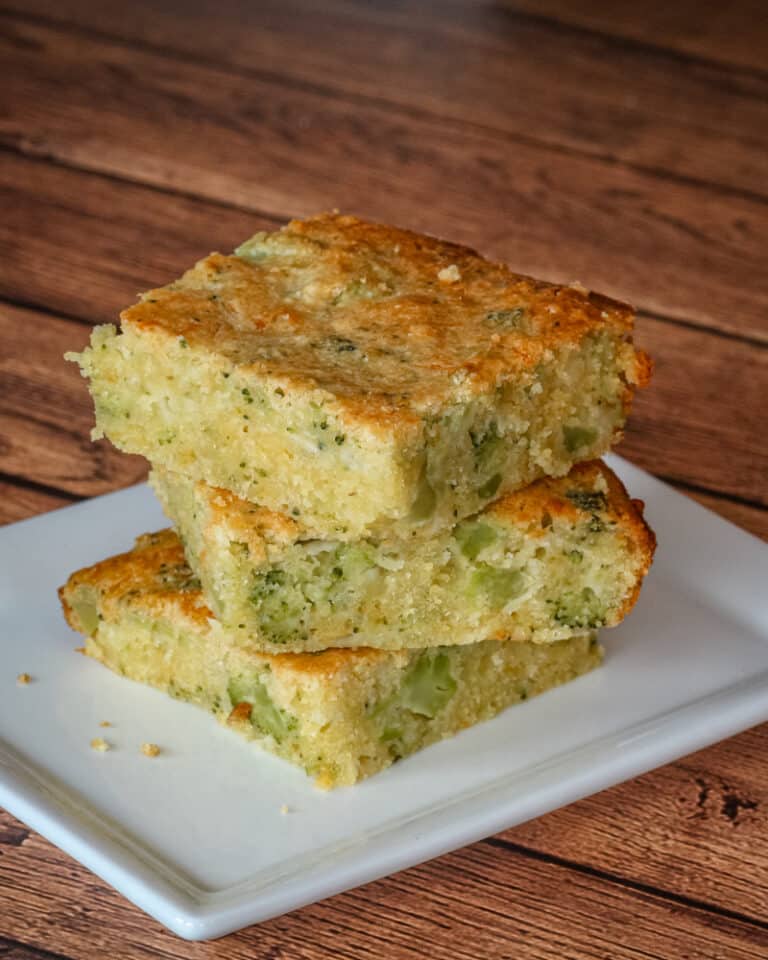
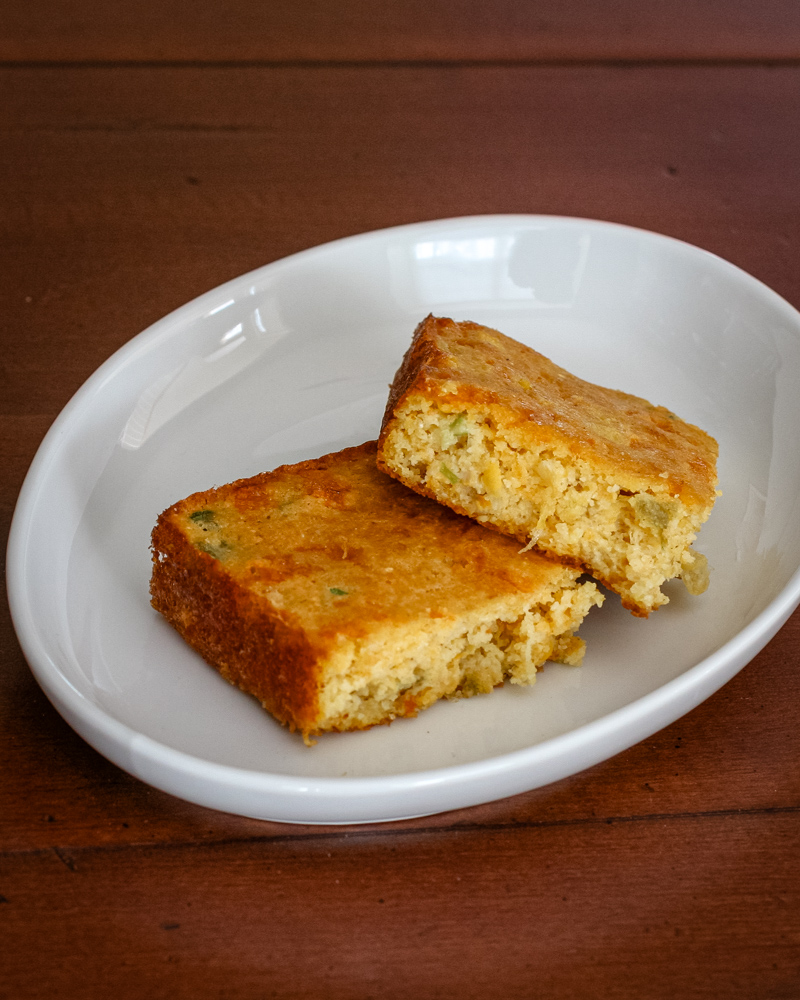
This Mexican-style cornbread is moist, cheesy, and full of flavor. It’s the kind of side dish that is sure to satisfy, especially when served with chili, beans, or collard greens.
Cream-style corn and sour cream keep the crumb soft and tender, while green onions, chile peppers, and melty cheese give it just enough punch. It’s a perfect option for potlucks or cozy family dinners—and it’s easy to tweak to suit your heat level.
What You’ll Like About This Dish
Moist and flavorful. Cream-style corn and sour cream make it tender and rich.
Easy to customize. Adjust the spice level with different chiles or cheeses.
Great with chili. Pairs perfectly with soups, stews, beans, or barbecue.
Feeds a crowd. Bakes up easily in a square or rectangular pan for 9 generous servings.
Ingredient Notes
- Cornmeal: Use yellow cornmeal for classic flavor and texture.
- Flour: A small amount helps bind the batter and improve structure.
- Sour cream: Keeps the cornbread moist with a slight tang.
- Cream-style corn: Adds sweetness and soft texture.
- Green onion: Brings mild onion flavor without overpowering.
- Green chiles: Use mild canned chiles or substitute fresh jalapeño for more heat.
- Cheese: Monterey Jack melts beautifully, but a Mexican blend or pepper jack also works.
Steps to Make Mexican Cornbread
- Preheat the oven and spray a 9×13-inch baking pan.
- Whisk together the dry ingredients in a large bowl.
- In another bowl, combine the eggs, sour cream, and melted butter.
- Stir the wet mixture into the dry until just combined.
- Fold in the green onions, chiles, and shredded cheese.
- Spread the batter in the pan and bake until golden and set.
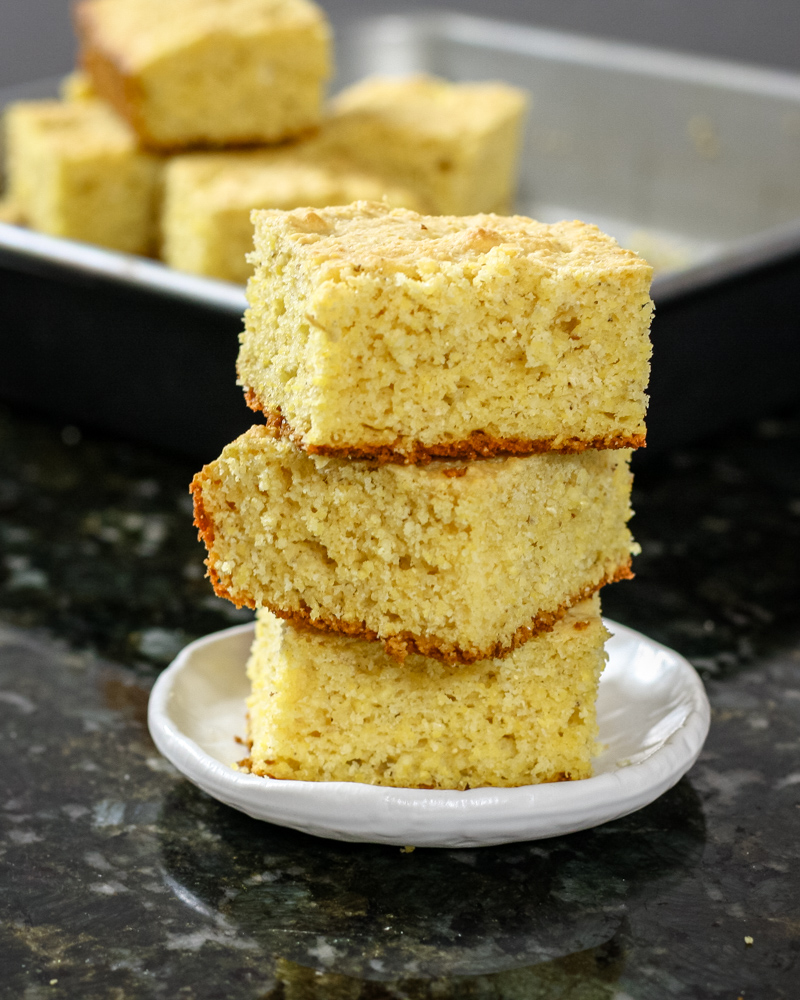
- Let cool slightly before cutting into squares.
Tips for Success
- Don’t overmix the batter—stir just until combined for the best texture.
- Use a toothpick to check for doneness—it should come out clean or with a few moist crumbs.
- Let the cornbread cool slightly before slicing for cleaner pieces.
- Double the recipe for a crowd and bake it in a 9×13 or two 8-inch square pans.
Recipe Variations
- Add bell pepper. Stir in finely chopped red or roasted bell pepper for extra color and sweetness.
- Swap in jalapeños. Use a fresh minced jalapeño for more spice instead of mild green chiles.
- Use pepper jack cheese. Adds an extra kick and great flavor.
- Top with cheese. Sprinkle shredded cheese over the top during the last 5 minutes of baking.
Serving Suggestions
- Serve with chili, barbecue, or baked beans.
- Pair with a bowl of greens or vegetable soup.
- Add a drizzle of honey or hot honey for a sweet-salty combo.
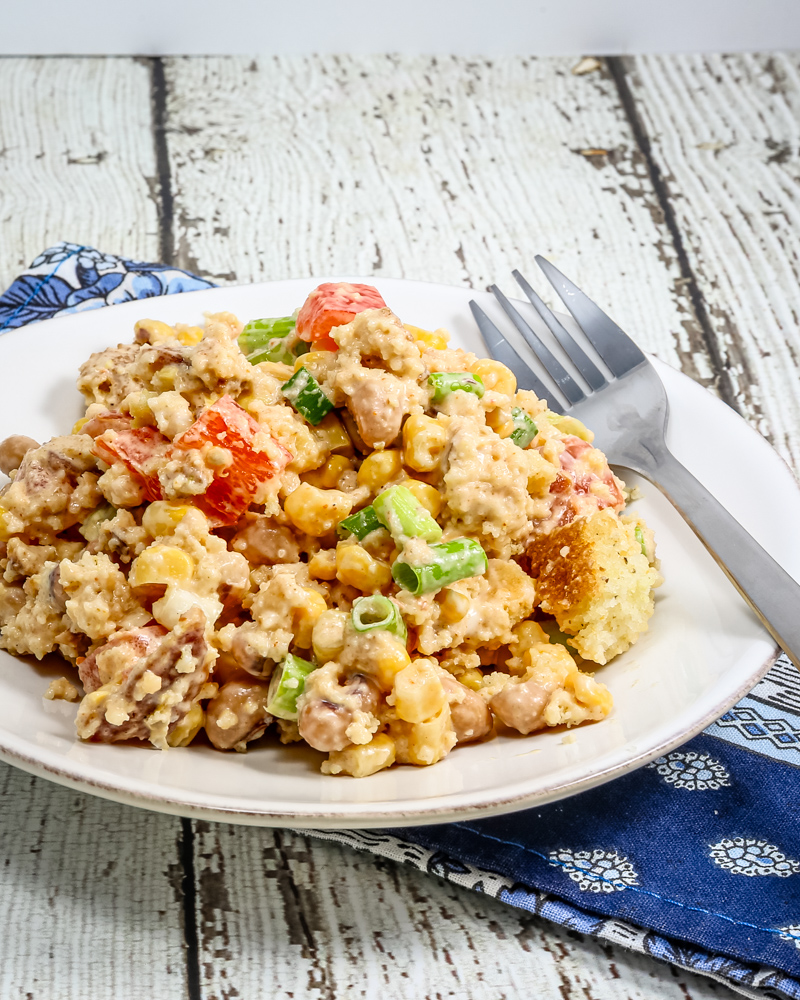
- Use leftovers as the base for breakfast with fried eggs on top.
- Crumble into a savory cornbread dressing or stuffing mix.
How to Store and Reheat
Refrigerate: Store cooled cornbread in an airtight container in the fridge for up to 4 days.
Freeze: Wrap individual slices in plastic wrap and freeze in a zip-close bag for up to 2 months.
Reheat: Warm slices in the microwave or oven at 300°F until heated through. Wrap in foil to keep it moist.
Mexican Cornbread
Ingredients
- Baking spray, for greasing the pan
- 1 cup cornmeal
- ⅓ cup flour
- 2 tablespoons sugar
- ½ teaspoon salt
- 2 teaspoons baking powder
- ½ teaspoon baking soda
- 2 large eggs
- 1 cup sour cream
- ½ cup butter, melted
- 1 8-ounce can cream-style corn
- ¼ cup green onion, chopped
- 1 4-ounce can green chile peppers, chopped, drained
- ½ cup Monterey Jack cheese, shredded
Instructions
- Heat the oven to 350°F and spray a 9 x 13-inch baking pan with baking spray.
- Combine the cornmeal, flour, sugar, salt, baking powder, and soda in a large bowl; whisk until thoroughly blended.
- In a separate bowl, whisk the eggs, sour cream, and cream-style corn until well blended. Whisk in the melted butter.
- Stir the egg mixture into the dry ingredients just until combined.
- Fold in the green onions, chile peppers, and cheese; mix to blend.
- Spread the batter in the prepared pan and bake for 30 to 35 minutes, until browned and set.
- Cool slightly before slicing.
Nutrition
Disclaimer:
Our nutritional information is based on a third-party application that analyzes the ingredients list to determine the values. The information is meant to be helpful, but should be considered an estimate. Values may differ depending on measurements, brands, serving variations, and database availability.

