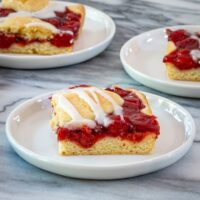
Cherry Cobbler Bars
Treat your family to our cherry cobbler bars. With a cake base and topping, cherry filling, and vanilla icing, they’re the perfect dessert!

This post may contain affiliate links. See our Privacy Policy.
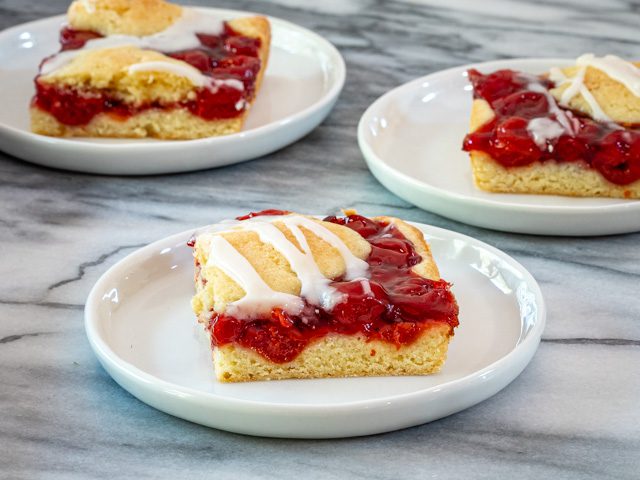
These cherry cobbler bars deliver all the nostalgic comfort of a warm fruit cobbler but in a portable, sliceable bar that’s ideal for sharing. The base is rich and buttery, almost like a soft sugar cookie, and it pairs beautifully with the bright, jammy cherry filling. A quick vanilla–almond icing ties everything together with a lightly sweet finish. They’re simple, satisfying, and always crowd-pleasing.
This is the kind of dessert that works for any gathering—holidays, potlucks, bake sales, picnics, or just a cozy weekend treat. The recipe makes a generous batch, the bars cut cleanly once cooled, and the flavor gets even better after a few hours. The combination of tender cake-like layers and glossy cherry filling gives you the best parts of cobbler with the convenience of a bar cookie.
The recipe yields 20 bars, making it ideal for potlucks, gatherings, or a week of sweet snacking. You’ll love how simple they are to assemble — and how quickly they disappear once served!
What You’ll Like About This Recipe
- Perfect for feeding a crowd. This recipe fills a full jelly roll pan, producing two dozen generous bars—ideal when you need a dessert big enough for a group. The bars hold their shape beautifully once cooled, making them easy to transport and serve, whether you’re hosting or taking them along to a potluck.
- Cobbler comfort in bar form. The buttery base and lightly golden dollops on top mimic the flavor and texture of classic cobbler topping. Paired with luscious cherry filling, the bars deliver that beloved warm-fruit-and-soft-crust experience, but with the added convenience of being hand-held and sliceable.
- Foolproof preparation. The batter mixes quickly and uses everyday pantry ingredients. Because the recipe relies on canned cherry pie filling, there’s no need to prep fresh fruit or adjust for varying sweetness or moisture levels. The result is incredibly consistent every time.
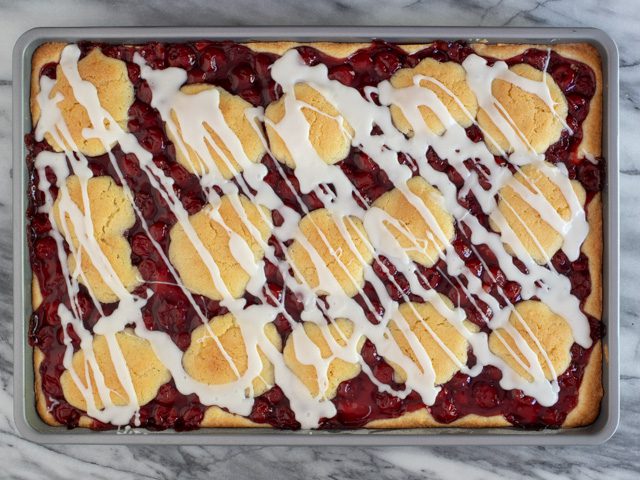
- Beautiful presentation with minimal effort. The glossy cherry layer peeking through the cobbled top gives these bars an appealing bakery-style look. A light drizzle of icing adds sheen and sweetness without overpowering the fruit. They look polished with very little work.
- Easily customizable. The flavor base welcomes tweaks—almond extract, lemon zest, mixed berry fillings, or even a crumble topping variation. You can adapt the recipe effortlessly for different seasons or preferences, making it a versatile staple for your dessert rotation.
Ingredient Notes
- Butter – Room-temperature butter creams smoothly with sugar, helping create a tender, cake-like crumb. Unsalted butter gives you better control over overall salt levels. If using salted butter, reduce the added salt slightly.
- Granulated sugar – Provides sweetness and structure. Creaming it with the butter introduces air into the batter, helping the bars rise and remain soft.
- Eggs – Add richness and stability. Bringing them to room temperature helps them blend more easily into the creamed mixture.
- Cherry pie filling – Canned cherry pie filling ensures consistent sweetness and thickness. Choose a high-quality brand with whole cherries for the best texture. Other fruit fillings such as blueberry, strawberry, or mixed berry work well too.
- Flour – All-purpose flour provides the structure the bars need to cut cleanly. Scooping lightly or weighing ensures you don’t compact the flour, which could make the base too dense.
- Vanilla and almond extracts – Vanilla adds warmth, while almond extract provides that classic bakery-style flavor that pairs beautifully with cherries. Almond extract is optional but highly recommended for depth.
- Powdered sugar icing – The simple icing adds sweetness and a subtle sheen. Almond extract reinforces the flavor profile, while milk thins it to a drizzle-friendly consistency.
Steps to Make Cherry Cobbler Bars
- Prepare the jelly roll pan by greasing and flouring it thoroughly. This helps the bar base release cleanly and prevents sticking around the edges.
- Cream the butter and sugar until light and fluffy. This step introduces air into the batter, giving the bars their characteristic soft texture. Add the eggs one at a time, ensuring each is fully incorporated before moving on.
- Blend in the vanilla and almond extracts, then mix in the flour and salt on low speed. Overmixing can make the batter tough, so stop as soon as the dry ingredients disappear.
- Spread a generous portion of the batter into the prepared pan, smoothing it from corner to corner. This creates a sturdy base that supports the cherry layer without becoming soggy.
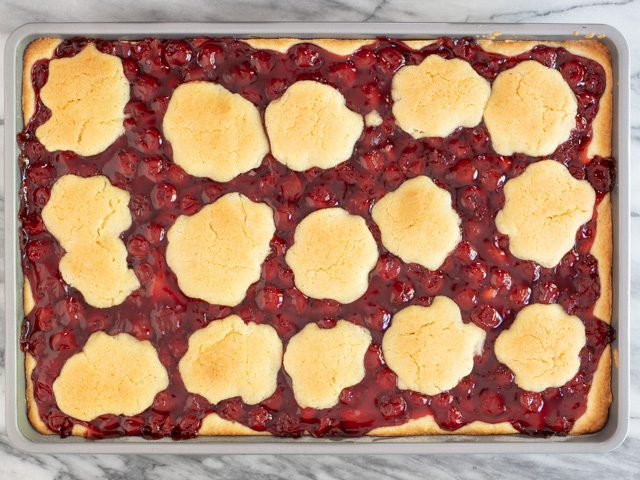
- Spoon the cherry pie filling evenly over the bottom layer. Add dollops of the remaining batter on top, allowing some of the cherry filling to peek through. These irregular patches create the classic cobbler appearance once baked.
- Bake until the top is lightly golden and the batter is set. Allow the bars to cool fully in the pan so they firm up for clean slicing.
- Mix the icing until smooth and drizzle it over the cooled bars. Adjust the milk as needed for a thin or thick drizzle. Once set, cut into squares.
Pro Tips
- Cream well – Properly creaming the butter and sugar is key to a light texture. The mixture should look pale and fluffy before adding the eggs.
- Cool before icing – Drizzling icing on a warm base causes it to melt and disappear. Let the bars cool completely to maintain a clean, visible drizzle.
- Use a sharp knife – For the neatest slices, use a long, sharp knife and wipe it clean between cuts.
- Line the pan – For guaranteed easy removal, you can line the pan with parchment with overhanging edges. This is especially helpful for transporting the bars.
- Flavor the icing – A hint of almond or even lemon zest in the icing can brighten the entire dessert.
Recipe Variations
- Mixed berry cobbler bars. Replace the cherry filling with a combination of blueberry, raspberry, and blackberry pie fillings. The tartness of the mixed berries balances beautifully with the buttery base.
- Lemon-cherry cobbler bars. Add lemon zest to the batter and a touch of lemon juice to the icing. The citrus sharpens the cherry flavor and adds a refreshing brightness.
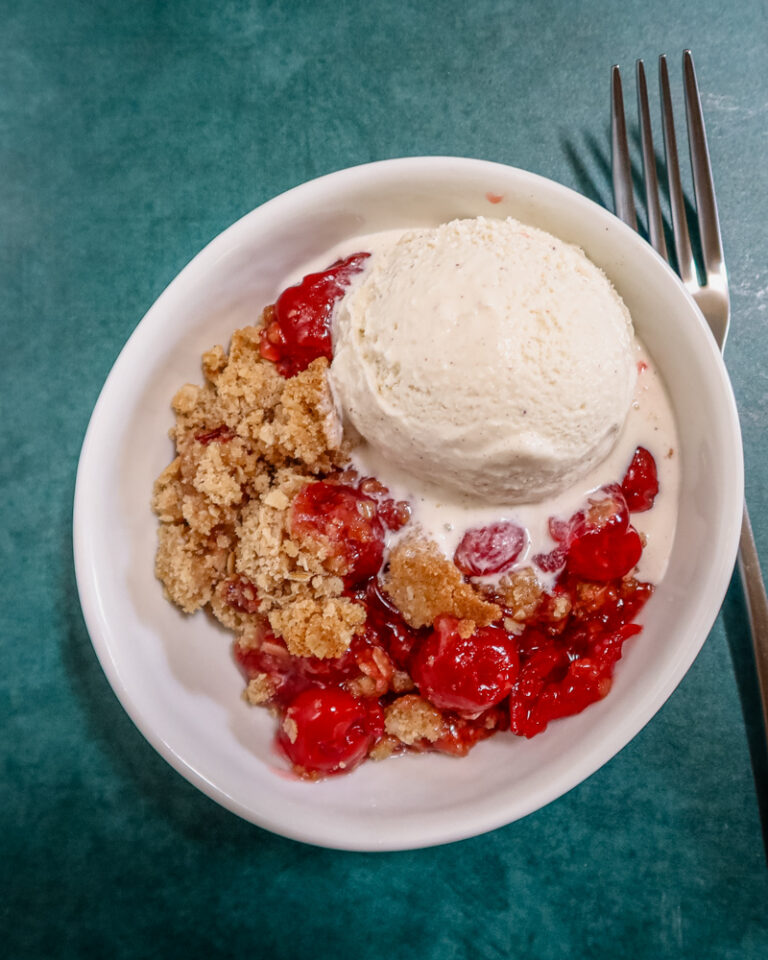
- Crumble-topped bars. Reserve some batter and mix it with a handful of oats and brown sugar to create a rustic crumble topping before baking.
- Chocolate-cherry variation. Fold mini chocolate chips into the top dollops of batter for a black forest–inspired twist. The chocolate melts into the cherry layer for a richer dessert.
- Almond crunch bars. Add sliced almonds on top before baking. They toast in the oven, adding a lovely nutty contrast to the sweet filling.
Serving Suggestions
- Include them in a dessert platter with brownies and cookies.
- Serve with a dusting of powdered sugar for a simple presentation.
- Pair with coffee or tea for a sweet afternoon treat.
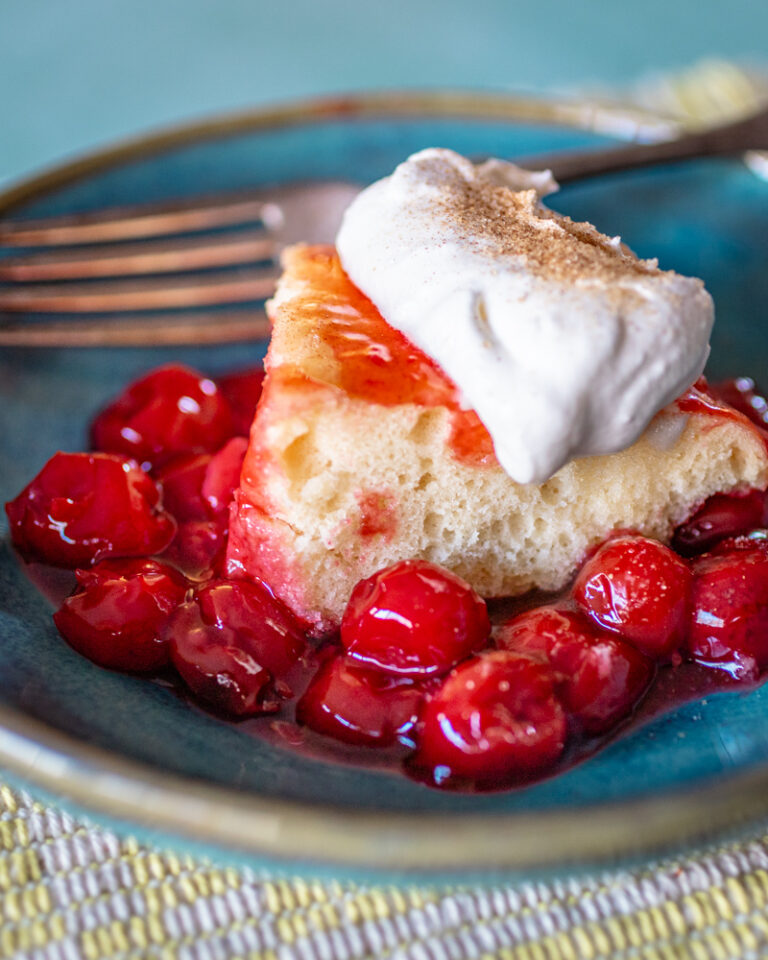
- Add a scoop of vanilla ice cream for a cobbler-meets-sundae experience.
How to Store
- Refrigerate: Store the cooled bars in an airtight container for up to 5 days. The cherry layer keeps the bars moist, and refrigeration helps the icing set firmly.
- Reheat: Warm individual bars briefly to soften the crumb and enhance the cobbler-like feel. Heating is optional but pleasant if you enjoy warm fruit desserts.
- Freeze: Wrap tightly in layers of plastic wrap and foil. Freeze for up to 3 months. Thaw in the refrigerator overnight for best texture.
- Room Temp: These bars can safely sit at room temperature for about 24 hours if you’re serving them at a gathering or event.
Cherry Cobbler Bars
Ingredients
- Butter and flour, for the pan
- 1 cup unsalted butter, room temperature
- 2 cups granulated sugar, (396 grams )
- 4 large eggs
- 1 teaspoon vanilla extract
- ¼ teaspoon almond extract
- 3 cups flour, (382 grams)
- 1 teaspoon salt
- 2 cans cherry pie filling, 21-oz each
Vanilla Icing
- 1 ½ cups powdered sugar
- ¾ teaspoon vanilla extract
- ¼ teaspoon almond extract
- 4 tablespoons milk
Instructions
- Oven and Pan Prep: Heat the oven to 350°F and grease and flour a 10-by-15-inch jelly roll pan.
- Make the Cake Base: Combine the butter and granulated sugar in a mixing bowl, then beat with an electric mixer for 3 minutes, or until light and fluffy. Beat the eggs in one at a time, mixing thoroughly after each addition. Add the vanilla and almond extract and beat until blended. With the mixer on low speed, beat in the flour and salt.

- Assemble and Bake: Measure 3 cups of the batter and spread it in the prepared baking pan. Pour the cherries over the base and then spoon dollops of the remaining batter evenly over them.
- Bake for 30 to 40 minutes, or until the batter is set and lightly browned. Transfer to a rack to cool.
- Icing: Combine the icing ingredients. If too thick, add a bit more milk. Drizzle the icing over the cooled cherry cobbler bars. Serve and enjoy!
- Serve: Cut into squares and enjoy!


Equipment
Nutrition
Disclaimer:
Our nutritional information is based on a third-party application that analyzes the ingredients list to determine the values. The information is meant to be helpful, but should be considered an estimate. Values may differ depending on measurements, brands, serving variations, and database availability.