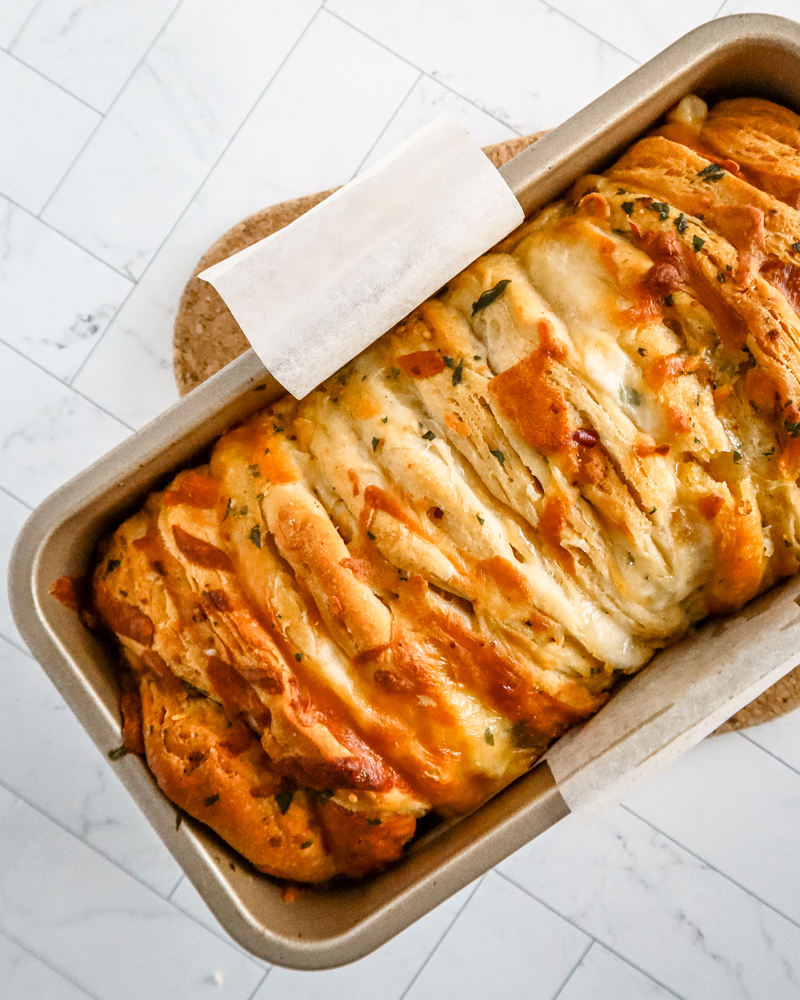
Cheesy Garlic Pull-Apart Bread
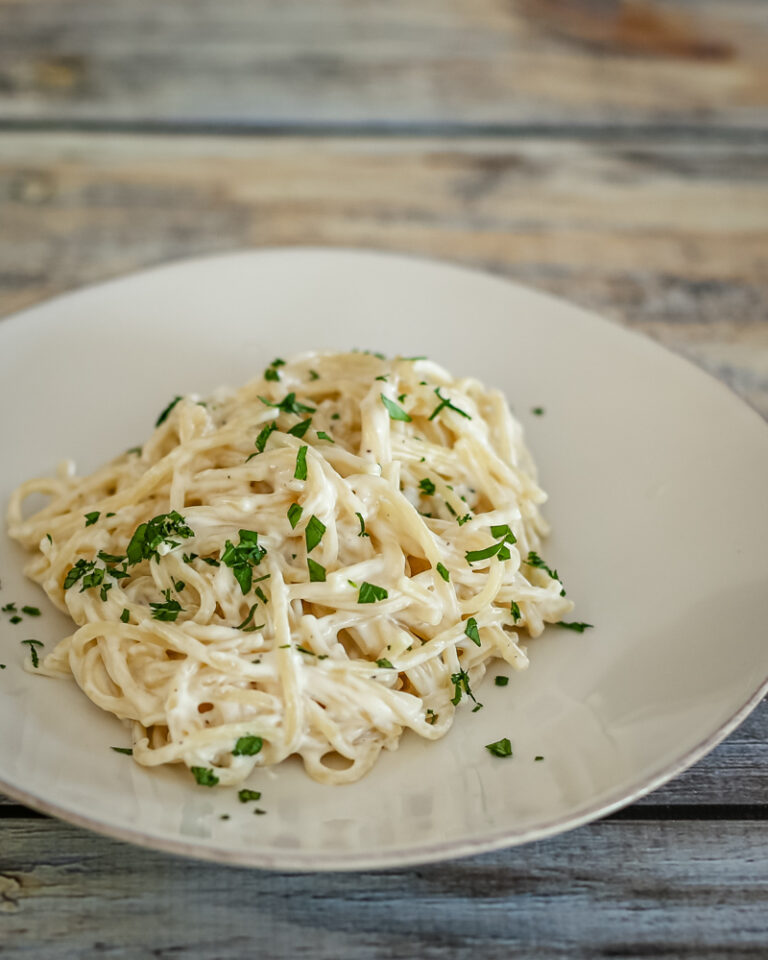
A can of biscuits makes this cheese and garlic pull-apart bread nearly effortless! It’s great with a pasta meal!
This post may contain affiliate links. See our Privacy Policy.
As someone who enjoys cooking and baking, I always have a can of refrigerated biscuits in the fridge because they can be used in so many different ways. The biscuits are extraordinarily versatile and can be used to make a variety of dishes, from sweet to savory. Plus, they are convenient and easy to work with. Just pop open the can, and you have a ready-to-use dough that needs no prep work! I’ve used refrigerated biscuits to make biscuit sandwiches for breakfasts and lunches, sweet cinnamon-coated monkey bread, and toppings for casseroles and pot pies.
This cheesy garlic pull-apart bread is one of my favorite ways to use a can of large refrigerated biscuits. The loaf is easy to throw together and bake in a loaf pan, and it’s full of flavor and texture from the garlic butter and melty cheese. Serve this delicious pull-apart bread with lasagna, a Bolognese, beans, or a hearty chili or stew.
I used a combination of shredded mozzarella cheese and cheddar jack cheese, but you are free to use whatever cheese you have on hand. Fontina cheese melts beautifully, or make the pull-apart bread with cheddar or a pizza blend. Add some pepper jack cheese if you like a bit of heat. Or add some crushed red pepper flakes to the butter mixture. Chili crisp is another great optional ingredient; add a few teaspoons for spiciness, extra garlic flavor, and crunch.
What You’ll Like About This Dish
Easy shortcut. Canned biscuits keep prep fast and foolproof.
Cheesy layers. Mozzarella and cheddar melt into every fold.
Garlic aroma. Fresh garlic adds irresistible flavor.
Crowd-friendly. Fun to pull apart and perfect for sharing.
Ingredient Notes
- Canned biscuits: Large biscuits like Grands work best for easy splitting and stacking.
- Butter + garlic: Forms the base of the flavorful drizzle.
- Crushed red pepper: Optional heat—use as much or little as you like.
- Parsley: Adds freshness and color.
- Mozzarella + cheddar: A melty, flavorful cheese combo that pulls apart beautifully.
Steps to Make Cheesy Garlic Pull-Apart Bread
- Prepare the loaf pan with parchment and heat the oven.
- Melt the butter with garlic and optional red pepper; stir in parsley.
- Split the biscuits horizontally and brush each with garlic butter.
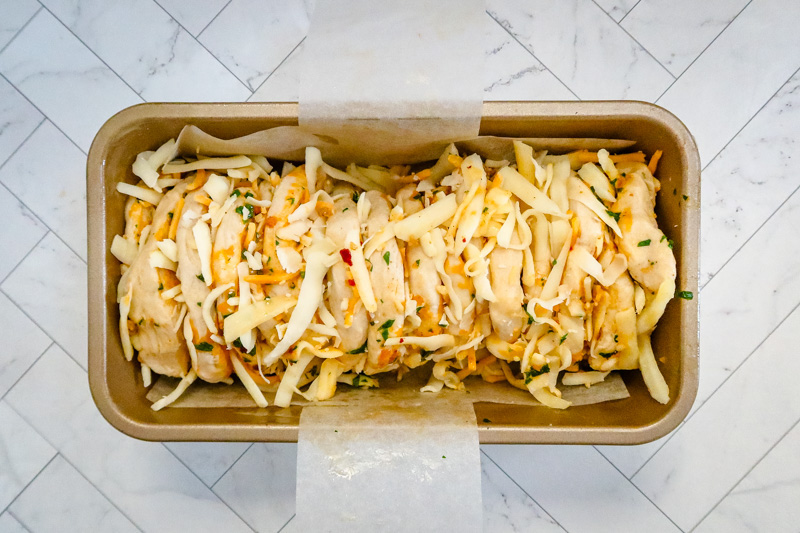
- Stack the filled biscuits, alternating cheese between layers.
- Stand the stack sideways in the pan and brush with remaining butter.
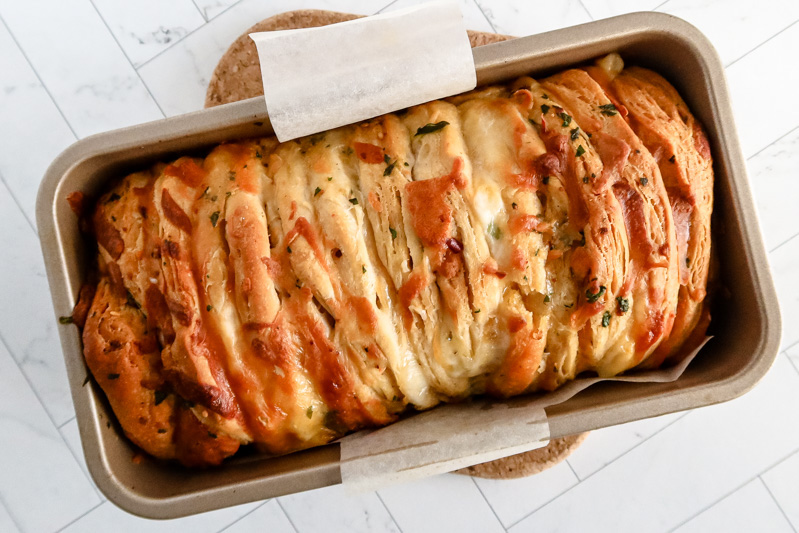
- Bake until golden and cooked through, covering with foil if needed.
- Cool slightly before serving warm.
Tips
- Spread cheese between layers as you stack for even distribution.
- If the loaf browns too quickly, tent lightly with foil.
- An instant-read thermometer helps—190°F ensures the center is done.
Recipe Variations
- Add herbs. Mix dried Italian seasoning or oregano into the butter mixture.
- Make it spicy. Use extra red pepper flakes or a pinch of cayenne.
- Try different cheeses. Monterey Jack, Parmesan, or Gruyère melt beautifully.
- Swap garlic. Use roasted garlic for a sweeter, mellow flavor.
- Make it ranch-style. Add a teaspoon of dry ranch seasoning to the butter.
Serving Suggestions
- Serve alongside pasta dishes like lasagna, baked ziti, or spaghetti.
- Pair with soups such as tomato basil or creamy chicken.
- Add marinara or pizza sauce for dipping.
- Choose a simple green salad to balance the richness.
How to Store
Refrigerate: Wrap leftovers and store for up to 3 days.
Reheat: Warm slices in a 300°F oven until soft and heated through.
Freeze: Freeze tightly wrapped portions for up to 2 months, then reheat in the oven.
Cheesy Garlic Pull-Apart Bread
Ingredients
- 4 tablespoons unsalted butter
- 1 tablespoon garlic, minced
- 1 16.3-ounce can Grands biscuits, or similar
- 1/2 teaspoon crushed red pepper flakes, optional
- 2 tablespoons minced parsley
- 1 cup shredded mozzarella cheese
- 1 cup shredded cheddar cheese
Instructions
- Position a rack in the center of the oven and heat to 350 F.
- Line an 8 1/2-by-4 1/2 or 9-by-5-inch loaf pan with parchment paper, leaving an overhang for lifting the bread out later.
- Heat the butter in a small skillet or saucepan over medium heat. Add the garlic and red pepper flakes, if using, and cook for 1 minute.
- Remove the pan from the heat and add the parsley.
- Peel apart or slice a biscuit in half horizontally to make 2 thin biscuits. Brush the cut side of each one with the butter mixture, and then stack the second one on it and brush that one. Repeat with the remaining biscuits, stacking them on top of each other. Place the stacked, filled biscuits in the pan, sideways, to form the loaf—you might have to do this in a few batches—ending the loaf with the uncut, ungarnished side of a biscuit. If you have any butter mixture left, brush it over the loaf.
- Bake the loaf for 35 to 45 minutes, checking it after about 25 to 30 minutes. If necessary, cover it loosely with a sheet of foil to prevent over-browning. Test the loaf with an instant-read thermometer. It is done when it reaches 190 F in the center of the loaf.
- Let the loaf cool for about 10 minutes in the pan on a rack and serve warm.
Nutrition
Disclaimer:
Our nutritional information is based on a third-party application that analyzes the ingredients list to determine the values. The information is meant to be helpful, but should be considered an estimate. Values may differ depending on measurements, brands, serving variations, and database availability.

